The rosette is the design that surrounds the sound hole. Using my old 1950 Gibson J-50 as my inspiration, I’m going for a very simple, almost utilitarian, yet classic look. I’ve kept the thin 1/8” overall width, but I’m using three rings featuring wenge and holly, the same woods I’m using for the binding and elsewhere on the guitar.
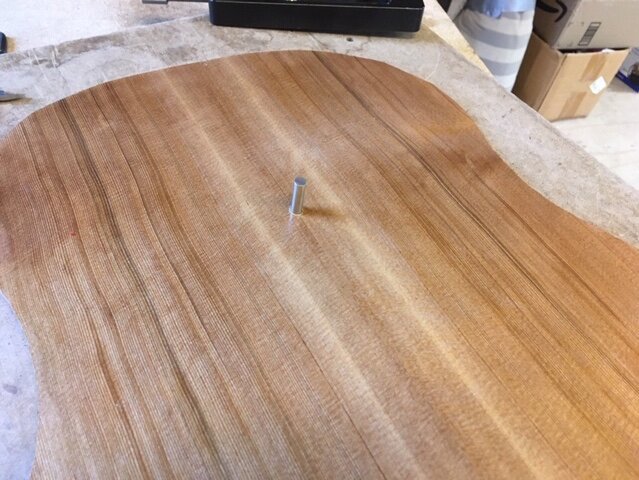
Top
Top is mounted on a locater pin for the sound hole cutout.
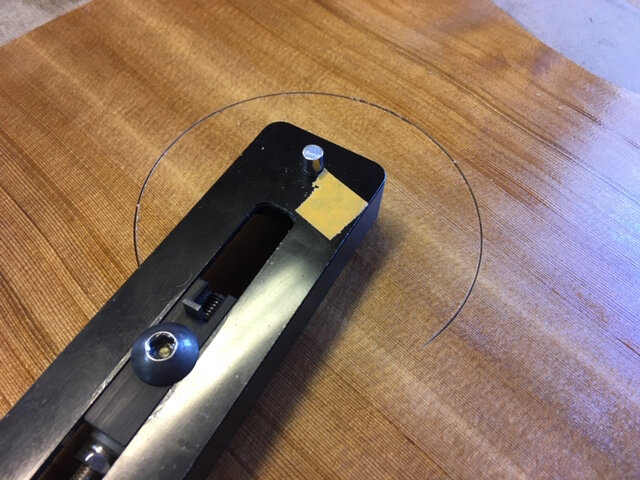
Cutting 1
Circle cutting tool is used to cut outside edge of rosette groove into the top.
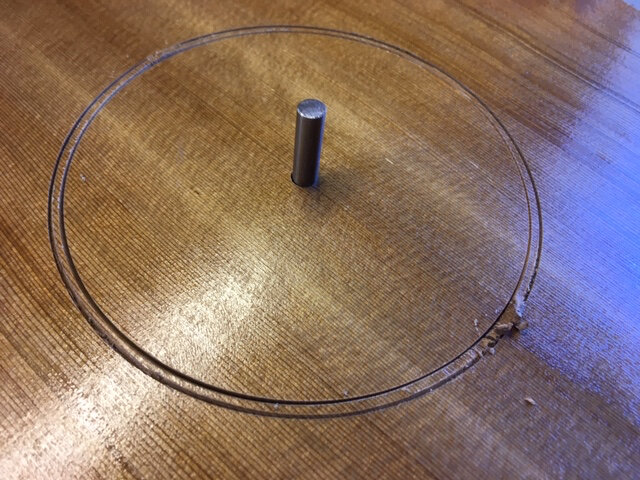
Cutting 2
Both inside and outside edges of rosette are now defined.
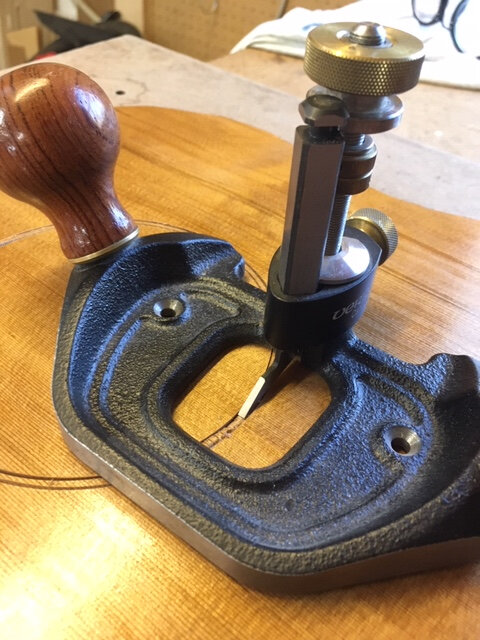
Router Plane
Router plane is used to remove the material between the inside and outside lines. Depth of cut is 2mm into the 3.5mm top.
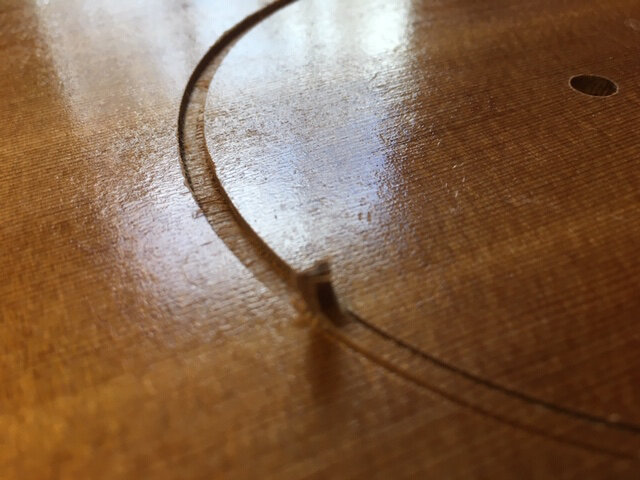
Removing wood
Inside material is slowly and carefully removed.
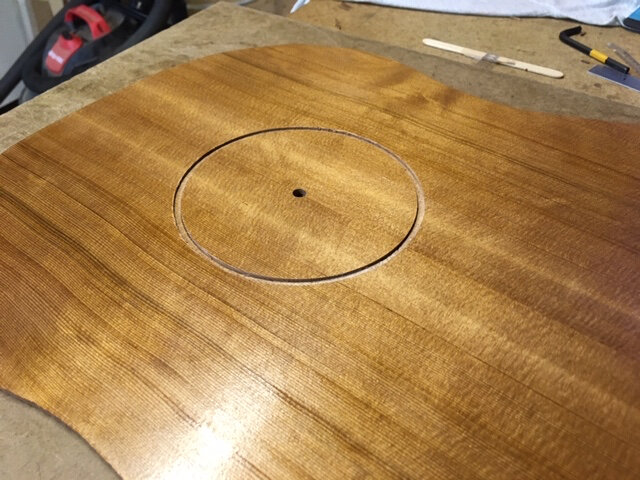
Ready for inlay
1/8” wide “trough” is now ready to accept inlaid wooden rings.
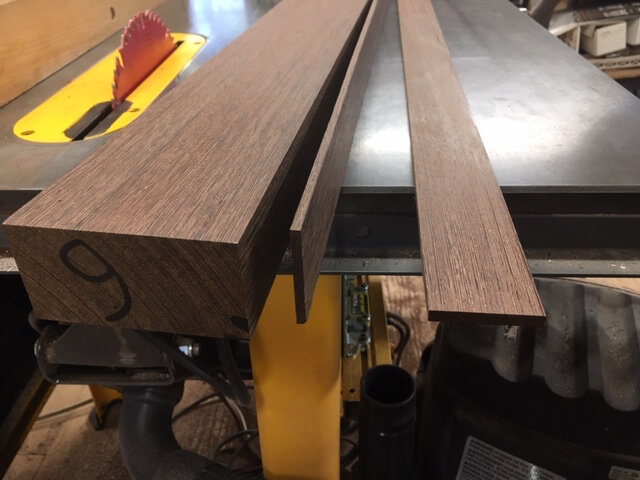
Wenge
Here I begin slicing the wenge for the center ring of the rosette.
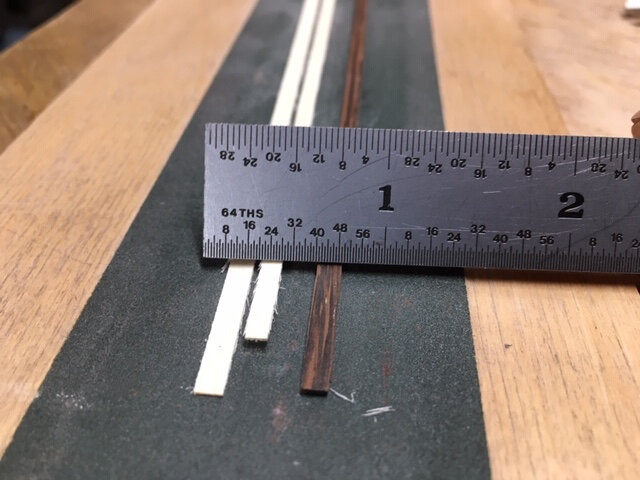
Triple Strips
Here are the two strips of holly and single strip of wenge sanded to final thickness and height.
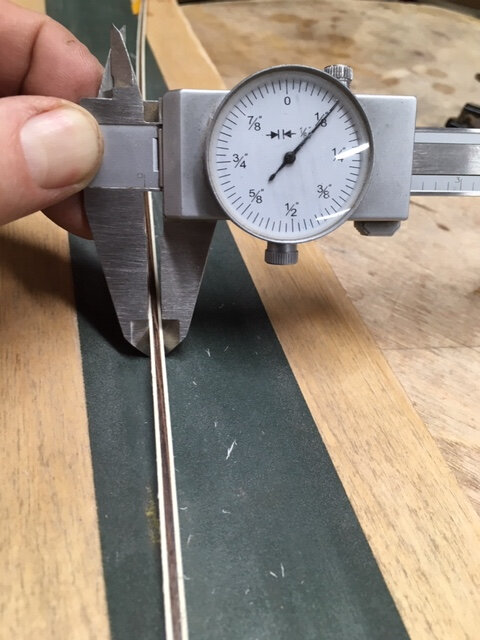
Measuring final thickness
All three strips combined for total 1/8” thickness.
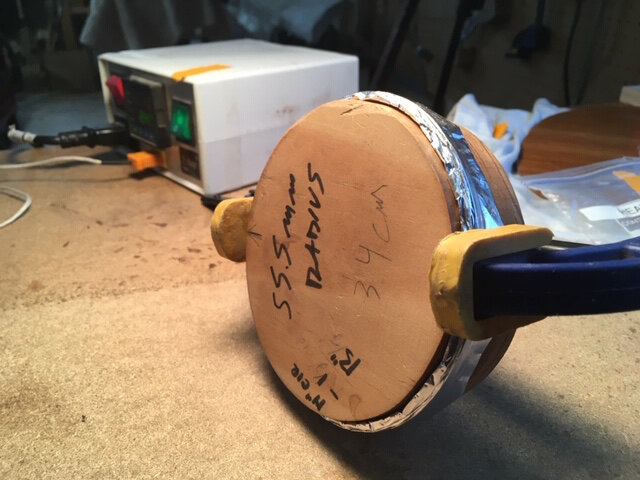
Bending
After wetting and heating the wood strips, I bend them around the correct size jig to form the rosette rings.
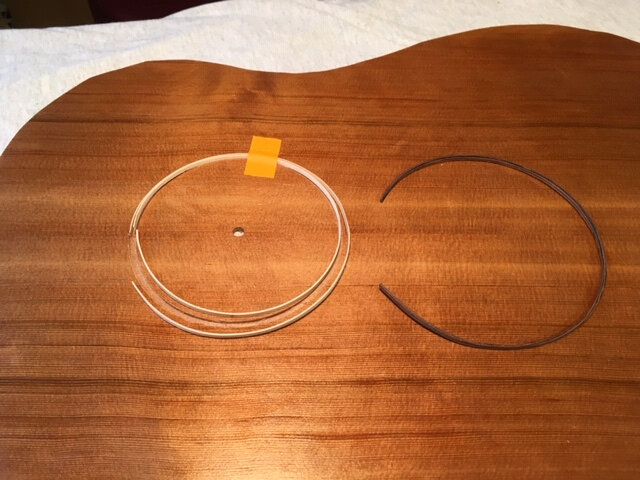
Ready for fitting
Bent rings are ready to be dry fitted into the rosette trough.
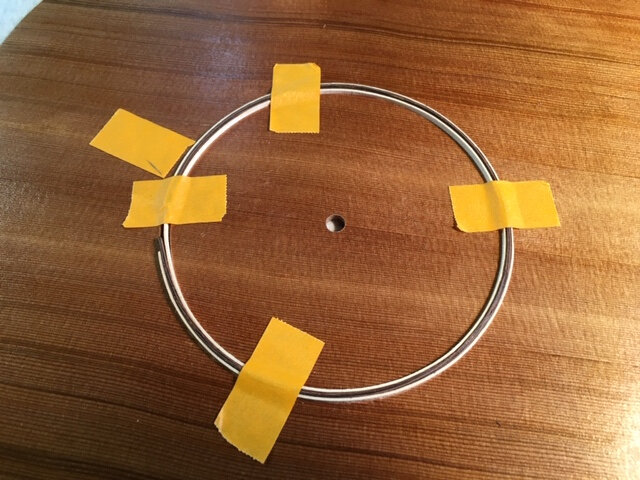
Dry fit
The dry fit confirms correct thickness of the rings.
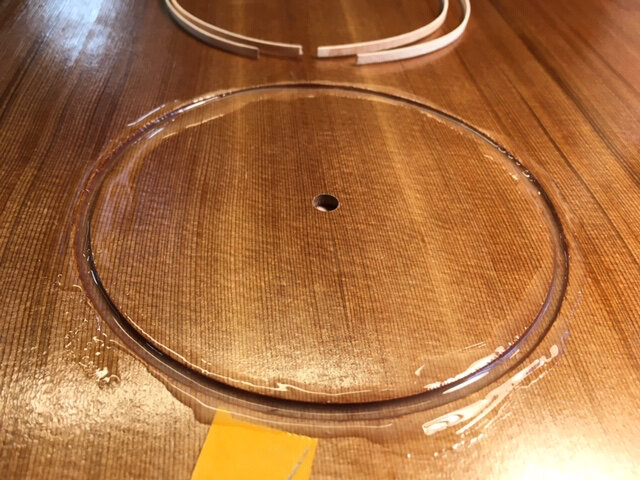
Fish Glue
Glue up begins!
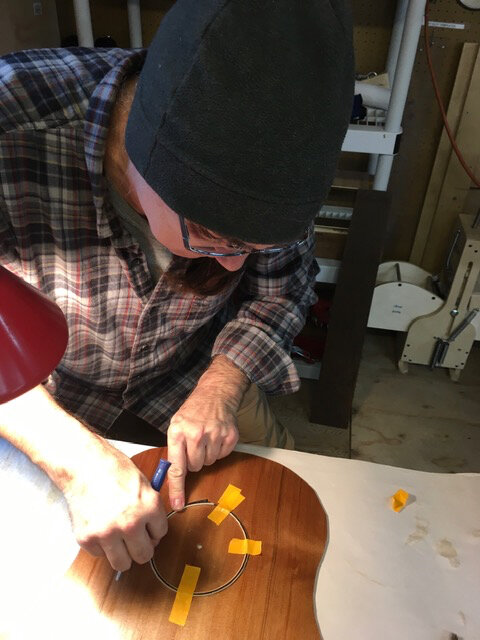
Rings inserted
Rings are carefully but quickly inserted into the wet glue.
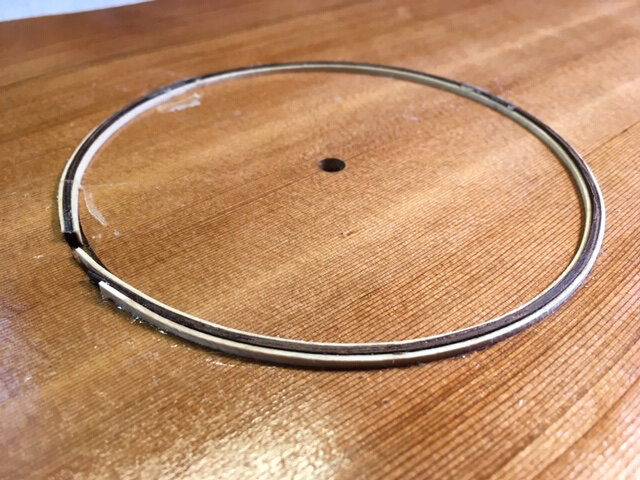
Next day...
Glue is dry!
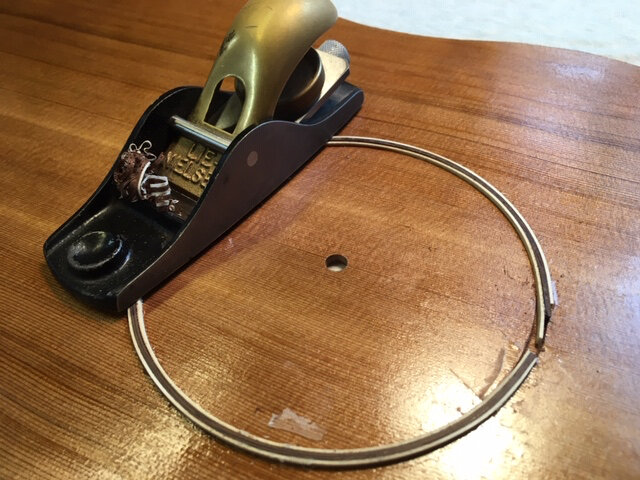
Planing
Hand plane is used to bring height of wood rings flush with top.
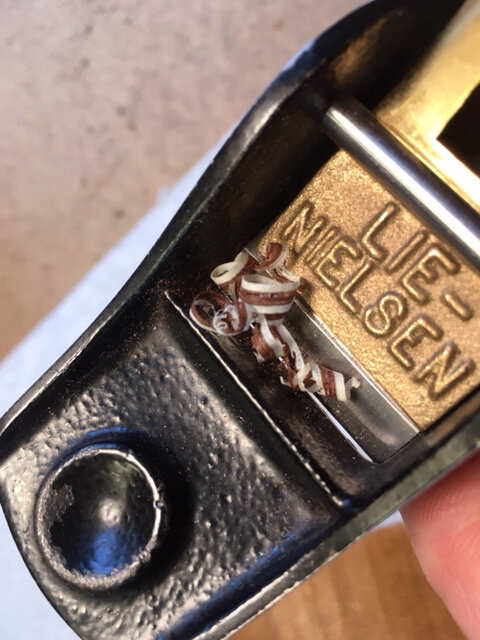
Lie-Nielsen
Beautiful Lie-Nielsen hand plane set to remove a thin ribbon of shavings with each pass.
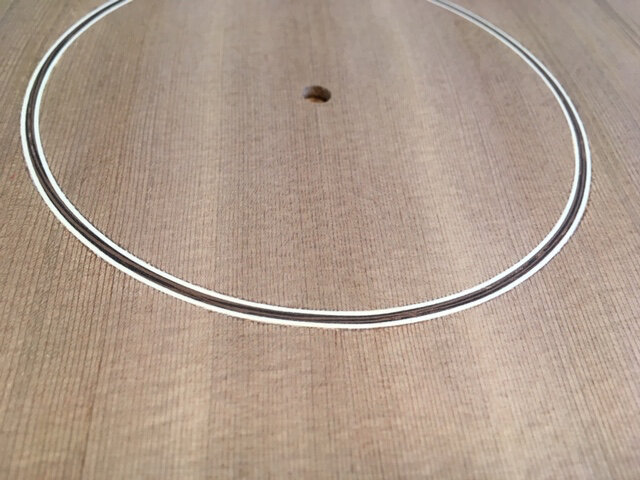
Sanded
After planing, sanding brings the wood rings flush with top. Sealer coat is removed during the sanding process.
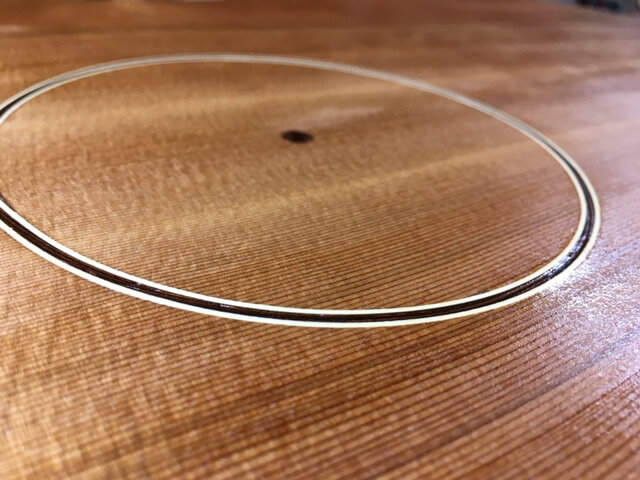
Sealer
Sealer coat of shellac is re-applied.
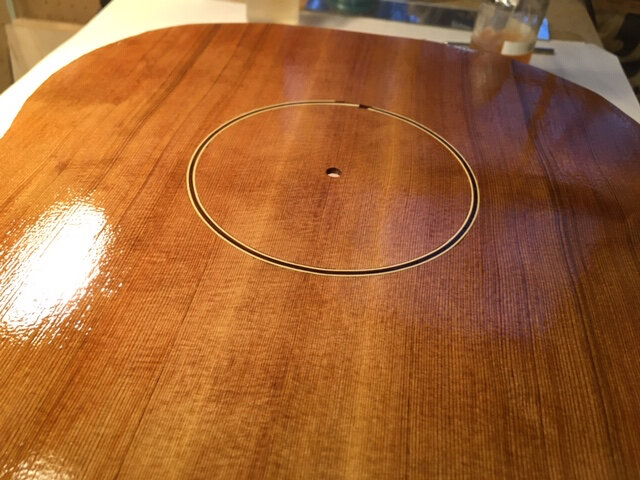
2nd coat
2nd coat applied
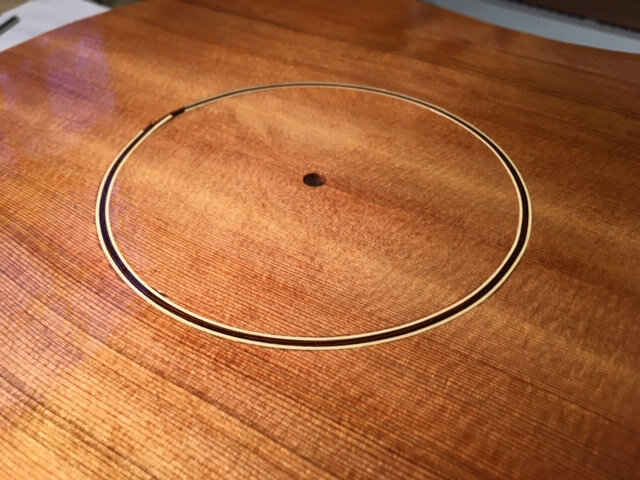
Final
3rd and final sealer coat… ain’t she pretty?
